Proper squat technique: 5 mistakes, per a 2024 review
4 studies · 2024 scoping review + AJSM
7 min read
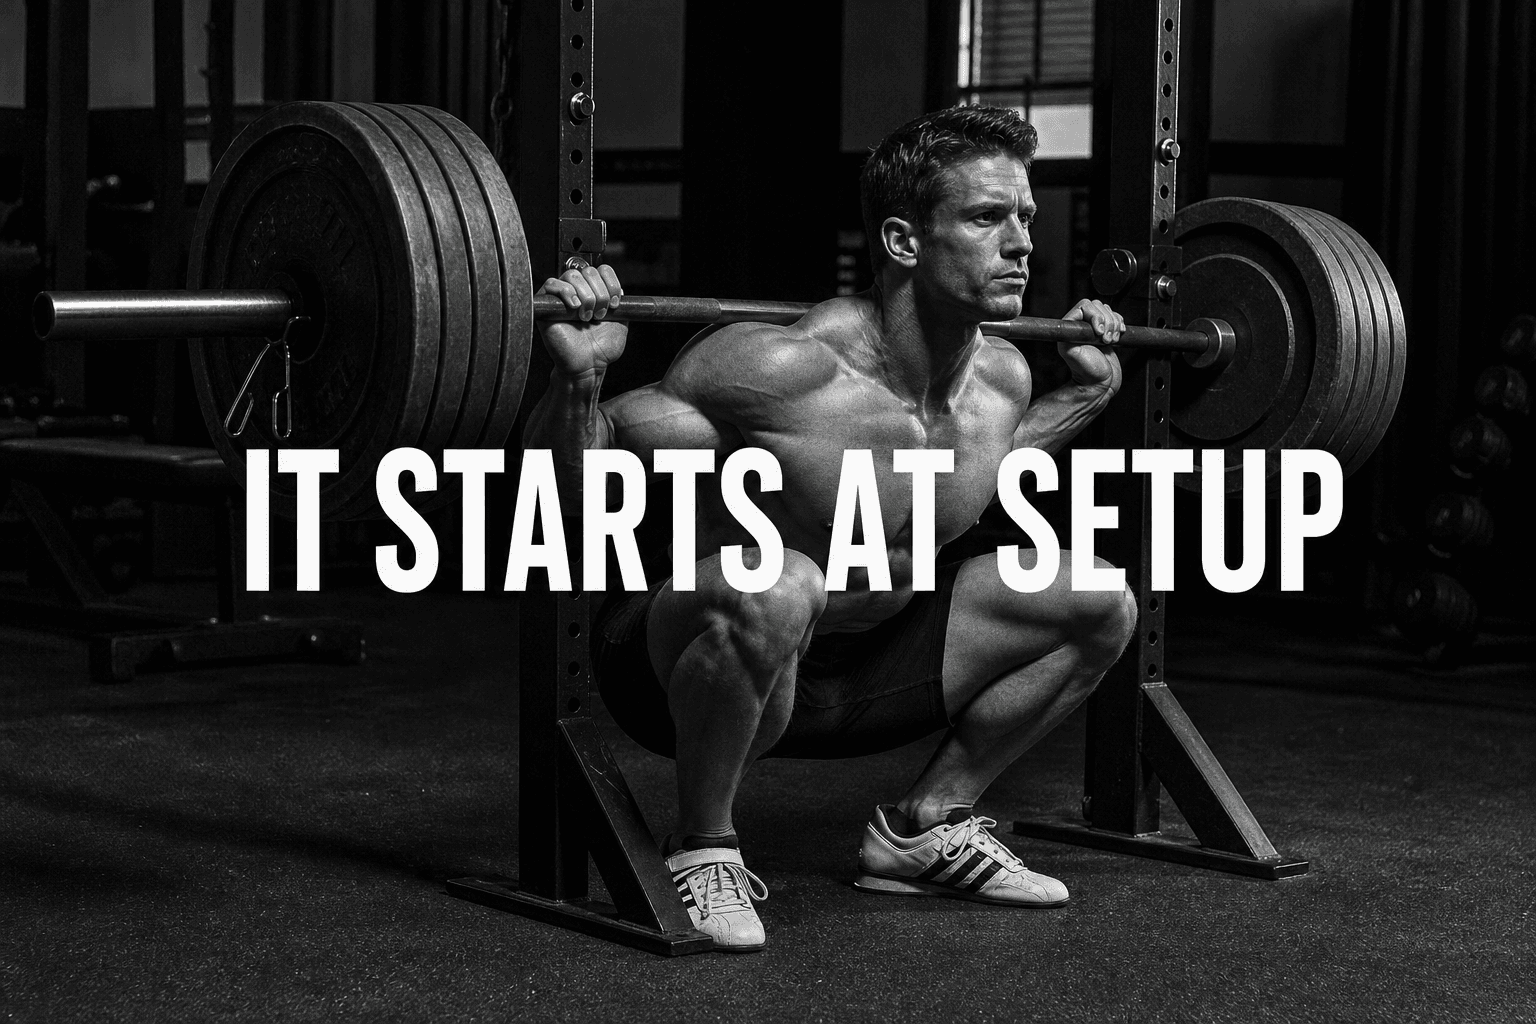
Most squat injuries come down to the same handful of mistakes
Squats and deadlifts together account for 76% of all weightlifting-related spinal injuries seen in emergency departments — and muscular strain in the lower back makes up 64% of those cases (Carnovale et al., 2026). That isn't a reason to avoid the squat. It's a reason to get the technique right before you load the bar.
The good news: the mistakes that cause those injuries are predictable. Fix the five below and you remove most of the risk while keeping all of the benefit.
If you're completely new to the gym, going to the gym for the first time covers the broader picture first — come back here for the squat deep-dive.
Mistake #1: Knees caving inward on the way up
Knee cave — where your knees drift toward each other as you push out of the hole — is the most common squat error, and it's the one most linked to knee injury. The technical term is knee valgus (your knees collapsing toward the midline), but all you need to know is: if your knees are moving inward, something is wrong.
Research on people returning from ACL reconstruction — a torn ligament inside the knee — shows a direct link between how your knees behave during a squat and how they behave during athletic landings (Peebles et al., 2021). In other words, bad squat mechanics train bad landing mechanics. The squat doesn't just load your legs; it programs movement patterns your body will use everywhere.
The fix: As you drive up, actively push your knees out over your pinky toes. Think "spread the floor" with your feet — you're not moving your feet, just creating outward rotational force. Your knees should track in line with your second and third toes throughout the rep.
If the cave is severe, add light hip-abduction work (banded clamshells, side-lying raises) before your squat sets. Weak glutes are almost always the root cause.
Bad squat mechanics train bad landing mechanics — the research is direct on this.
— Peebles et al. (2021). Bilateral Squatting Mechanics Are Associated With Landing Mechanics in ACLR Patients. Am J Sports Med.
Mistake #2: Not going deep enough — or going too deep before you're ready
Depth is one of the most debated topics in squatting. Here's what the evidence actually says.
A 2024 scoping review — a study that pulls together existing research across multiple databases — looked specifically at whether deep squats (below parallel, where your hip crease drops below your knee) damage the knee joint (Rojas-Jaramillo et al., 2024). Their finding: in resistance-trained individuals, deep squats do not increase the risk of knee osteoarthritis or structural damage. The concern that deep squats wreck your knees is not supported by the available evidence.
That said, "deep squat" doesn't mean "collapse as low as possible with your lower back rounding." The safe target for most people is hip crease at or just below knee level. Going further is fine if your mobility supports it cleanly — meaning no butt wink (where your pelvis tucks under at the bottom, rounding the lower back).
The fix: If you can't reach parallel without your lower back rounding, the problem is hip or ankle mobility, not your proportions. Work on ankle dorsiflexion — your ability to push your knee forward over your toes — and hip flexor flexibility before chasing depth under load. Elevating your heels slightly on small plates or a wedge is a legitimate short-term fix while you build that mobility.
Deep squats don't damage healthy knees — a 2024 scoping review found no increased risk of osteoarthritis in trained individuals.
— Rojas-Jaramillo et al. (2024). Impact of the deep squat on articular knee joint structures. Front Sports Act Living.
Mistake #3: Letting the chest fall forward
When your torso tips too far forward during the squat, the load shifts away from your legs and onto your lower back. Your spine is now acting like a lever arm — the further forward you lean, the more shear force it absorbs. Shear force on the lumbar spine means sideways stress on the vertebrae in your lower back, which is exactly what causes the muscle strains and disc problems that show up in injury data.
Nairn et al. (2017) showed this clearly: squatting with a top-down instability device caused less trunk flexion (less forward lean) and a 1.5-times reduction in erector spinae activation — the erectors are the muscles running along your spine. Less erector activation during a top-down challenge meant the trunk was simply more upright and more controlled.
The underlying point isn't to mimic instability training. It's that trunk position directly controls how the load is distributed between your legs and your spine. A more upright torso sends more work to the quads and less to the lower back.
The fix: Before unracking the bar, take a big breath into your belly, brace your core like you're about to take a punch, and keep your chest up throughout the descent. Your gaze should be slightly down and forward — not at the ceiling, not at the floor. If your torso consistently caves forward, the bar may be too heavy, or your upper-back mobility needs work.
Mistake #4: Adding load before the pattern is stable
This is the mistake that turns all the others into injuries. Every beginner wants to add weight — that's normal. But loading an unstable movement pattern just makes the bad pattern stronger and the injury risk higher.
Sabido et al. (2018) studied flywheel squat training — a specialised resistance method — and found that athletes needed at least 3 full sessions before their power output and movement quality stabilised enough to measure reliably. And these were high-level handball players, not beginners. If trained athletes need 3 sessions to groove a new squat variation, beginners need considerably more.
The fix: Spend your first 2–4 weeks doing bodyweight squats, goblet squats, or lightly loaded versions. Use a goblet squat — holding a dumbbell or kettlebell at chest height — as a form-teaching drill. The front-loaded position naturally encourages an upright torso and proper depth. goblet squat benefits goes deeper on exactly why it works so well as a teaching tool.
Only add barbell load when you can hit parallel, keep your knees tracking properly, maintain a braced upright trunk, and do it consistently across 2–3 sets. That's the readiness test.
Trained athletes need at least 3 sessions to stabilise a new squat pattern — beginners need considerably more.
— Sabido et al. (2018). Influence of Different Inertial Loads During the Flywheel Squat Exercise. Int J Sports Physiol Perform.
Mistake #5: Skipping the warm-up set
Walking up to the rack and hitting your working weight on the first set is a mistake most people make without realising it. Your joints, connective tissue, and nervous system all need a few reps at lighter loads before they're ready to produce force efficiently and safely.
This isn't about "waking up" muscles in some vague sense. It's mechanical: your working weight should never be the first weight your body encounters that session. Two to three progressively heavier warm-up sets before your first working set is standard practice for a reason — it lets you check your movement quality before the load matters.
For squats specifically: start with an empty bar (or just bodyweight if you're new) for 10–12 reps, focusing purely on depth, knee tracking, and trunk position. Then do 50% of your working weight for 5–6 reps. Then 75–80% for 3 reps. Now you're ready to work.
For a full breakdown of what an effective warm-up actually looks like before any lifting session, how to warm up before lifting has the evidence behind it.
If knee pain during squats is already a problem for you, squat knee pain explains what's actually causing it — spoiler: it's almost always a technique issue, not the squat itself.
The order of priority: pattern, then depth, then load
If you're fixing your squat from scratch, here's the sequence that works:
1. Get the pattern right first. Drill the movement with a goblet squat before you load a bar — the front-loaded position forces an upright torso, so the fault corrects itself. Knees out, chest up, brace your core. Do this with bodyweight or a goblet squat until it's automatic.
2. Earn your depth. Only go as deep as your mobility allows without your lower back rounding. Work on ankle and hip mobility in parallel. The research is clear that deep squats are safe — but only when your mobility supports getting there cleanly (Rojas-Jaramillo et al., 2024).
3. Add load progressively. Once the pattern is stable and depth is consistent, load the bar. Increase weight in small increments — 2.5–5 kg per side — and only when the current weight feels controlled across all your sets. For how many sets to actually do once you're there, how many sets of squats should i do has the breakdown.
The squat is one of the most rewarding lifts you can do. It builds quad, glute, and hamstring strength simultaneously, it transfers to every athletic movement, and when done correctly, the research shows it doesn't damage your joints. The technique investment upfront pays off for years.
Once the pattern holds under load, move to the barbell squat and add weight only on the weeks every rep looks the same.
How Planfit applies this
Planfit programmes your squat sessions by training level — picking the right variation, recommending your working weight and rep range, and queuing warm-up sets before the heavy work starts. As your form stabilises across sessions, it tracks your progression and pushes the load up gradually. You get the stimulus you need without jumping ahead of where your technique actually is.
References
- Carnovale IM et al. (2026). Spinal and Paraspinal Injuries from Weightlifting in Minors.. World Neurosurg. 10.1016/j.wneu.2026.124961
- Rojas-Jaramillo A et al. (2024). Impact of the deep squat on articular knee joint structures, friend or enemy? A scoping review.. Front Sports Act Living. 10.3389/fspor.2024.1477796
- Peebles AT et al. (2021). Bilateral Squatting Mechanics Are Associated With Landing Mechanics in Anterior Cruciate Ligament Reconstruction Patients.. Am J Sports Med. 10.1177/03635465211023761
- Nairn BC et al. (2017). Motion and Muscle Activity Are Affected by Instability Location During a Squat Exercise.. J Strength Cond Res. 10.1519/JSC.0000000000001745
- Sabido R et al. (2018). Influence of Different Inertial Loads on Basic Training Variables During the Flywheel Squat Exercise.. Int J Sports Physiol Perform. 10.1123/ijspp.2017-0282